Reading Time in Woodwork: Dating Furniture by Hinges, Nails, and Screws

Today we are exploring hardware as a timestamp, using hinges, nails, and screws to date furniture with confidence and curiosity. You will learn how manufacturing transitions, tool marks, patina, and tiny design quirks reveal decades of history, helping separate genuine age from later repair. Expect practical field tips, memorable stories from workshop benches, and comparisons you can apply immediately. Share your own finds, ask questions about puzzling fasteners, and join the conversation as we map timelines hidden in brass, iron, and steel.

Fasteners as Historical Clocks

Hardware changes track the pace of industry: hand-wrought nails give way to machine-cut forms, bespoke screws evolve into standardized threads, and strap hinges shrink into tidy, mass-produced butts. By noticing these transitions, you can anchor a piece in a decade or at least a realistic half-century. This approach turns mystery into method, replacing guesswork with observable, repeatable clues. It is part detective work, part craft appreciation, and completely addictive once you begin to see the patterns hiding in plain sight.

Recognizing Authentic Age versus Clever Imitation

Real age forms slowly consistent patterns: gradual wear in predictable contact points, oxidation that respects material chemistry, and tool marks that match period practices. Imitation often exaggerates or spreads effects unnaturally, hiding inconsistencies under heavy stains or uniform grime. Understanding how real use abrades brass, how iron darkens in oak, and how hand tools leave asymmetric signatures equips you to detect swapped parts or staged antiquity. Observing context beats any single detail, and careful comparisons make confidence grow.

Forging and casting fingerprints

Wrought iron reveals layered hammer work, slight undulations, and occasional slag inclusions, while early cast brass may show faint parting lines and sand texture in sheltered zones. File and drawknife cleanup leaves directional striations that feel authentic under fingertips. Modern reproductions often show uniform surfaces, sharp but oddly lifeless edges, or overly consistent casting seams. Match hinge knuckles and leaves: handmade pairs rarely mirror perfectly, whereas machine-made sets achieve near-identical profiles across duplicates.

Color, corrosion, and plating clues

Iron oxidizes from warm brown to deep black, often unevenly in protected corners, while brass builds complex golden tones with olive or brown notes. Artificial aging tends to be suspiciously uniform or placed only where visitors glance. Nickel or zinc plating speaks to later manufacture unless period-appropriate retrofits are documented. Verdigris blooms where moisture lingers, not randomly across exposed planes. Remember environmental history: kitchens, barns, and coastal homes leave distinct chemical fingerprints that cannot be faked convincingly across every detail.

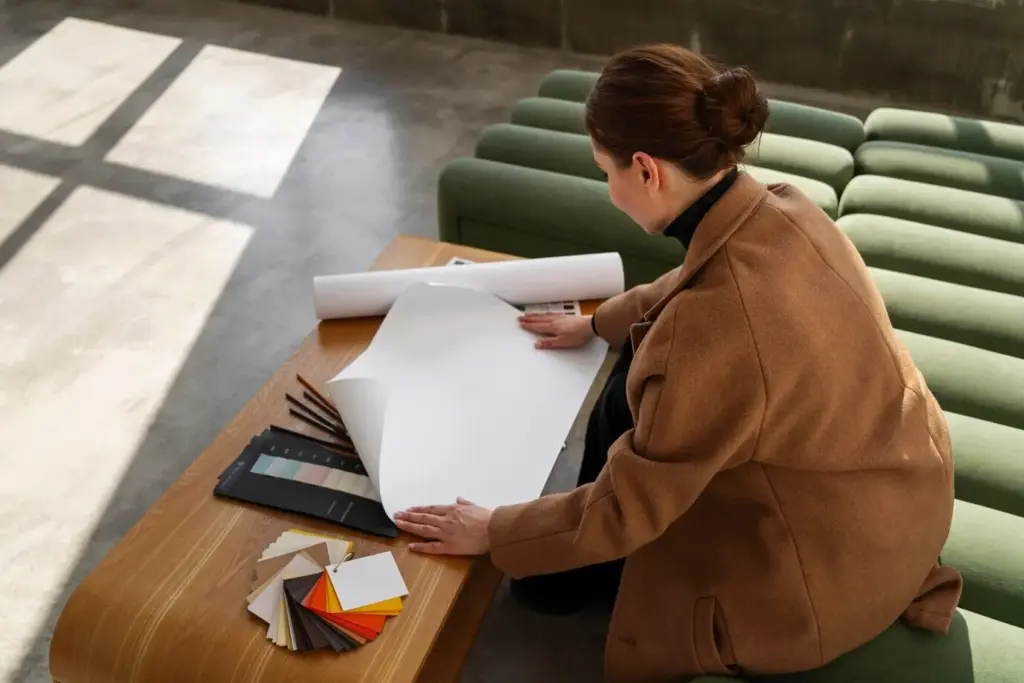
Place, Material, and Market Context

Hardware timelines do not travel alone; they ride with regional habits, timber availability, trade routes, and catalog adoption. American cut nails lingered in rural areas while city shops adopted wire earlier. British screw standardization differs from continent patterns. Oak, pine, and mahogany react distinctly with iron and brass, altering surface chemistry and clues. Auction catalogs, period advertisements, and patent filings anchor dates with surprising precision. Context transforms scattered details into a coherent, persuasive furniture biography.

Farmhouse table with a life of repairs

Underneath, early cut nails hold original aprons, their rectangular slots visible in worn rails. Later wire nails secure an added underside brace from the early twentieth century, likely a kitchen adaptation. The mismatch fits a long working life rather than deceit. Knife-scribed layout lines around early hinges contrast with crisp machine-chiseled mortises from a later repair. Documenting each layer produced a credible date range and a richer story for the family who remembered flour dust and holiday meals on its scarred top.

High chest with contradictory signals

The brasses looked convincing, but hinge leaves were too uniform and bright beneath the screws, leaving fresh halos. Backboards told the truth: cut nails with oxidized shanks and irregular clinches anchored the carcass. A hidden screw in a corner revealed hand-filed threads and a slightly off-center slot. The resolution was simple—later hinge replacement on an older body. Instead of downgrading the piece, the nuanced explanation increased trust, capturing how ownership and maintenance naturally layered materials across generations.

Portable kit for on-site identification

Pack a magnet, rare-earth if possible, to discriminate brass from ferrous alloys. Add a ten-power loupe, precision drivers, a headlamp with warm and cool settings, calipers for shank diameters, and non-marring picks. A microfiber cloth exposes contrast without scratching. Keep envelopes for labeled hardware if removal is authorized. Include blue tape to mark witness locations without lifting finish. This compact kit turns curiosity into reliable observation, reducing guesswork when examining complex repairs or dimly lit auction finds.

Non-invasive tests and quick heuristics

Start with what you can see and what gravity would naturally wear. Compare slot irregularity, thread pitch, and head form before touching a screw. Test with a magnet through cloth to avoid scratches. Shine raking light across hinge knuckles to read machining regularity. Prefer reversible actions; never pry until photos and notes are complete. A few disciplined habits prevent irreversible mistakes and preserve evidence for later analysis, especially when distinguishing honest age from artful but misleading surface treatments.

Conservation, safety, and respectful handling

Wear eye protection when confronting brittle, rust-bonded fasteners, and stop if metal begins to twist or crumble. Document everything before any removal, bag parts with labels, and keep original hardware with the object. Avoid aggressive polish that resets timelines and erases data. When in doubt, consult a conservator to stabilize rather than refurbish. Your responsibility is stewardship: retain history, tell a complete story, and invite discussion. Share findings in comments so others learn from your approach and results.

Pitfalls, Replacements, and Story-First Decisions

The goal is not to shame repairs but to tell the truth. Replacements often make sense for safety or usability, yet clarity about what changed and when preserves integrity. Spot artificial patination by uniform grime in illogical places or by overly sharp edges wearing dark finishes. Look for moved hinges and plugged holes that shift proportions. When replacement becomes necessary, choose reversible solutions, keep the old parts, and document every step. Invite readers to share their choices, trade-offs, and labeling strategies.
Thucphamthuongloan
Privacy Overview

This website uses cookies so that we can provide you with the best user experience possible. Cookie information is stored in your browser and performs functions such as recognising you when you return to our website and helping our team to understand which sections of the website you find most interesting and useful.